Nanuk 950 Ronin M Review by Adam Ivy
In this video, I'll be reviewing quite possibly, the best case on the market today, for Ronin M. Stay tuned. What's going on guys? Adam Ivy.
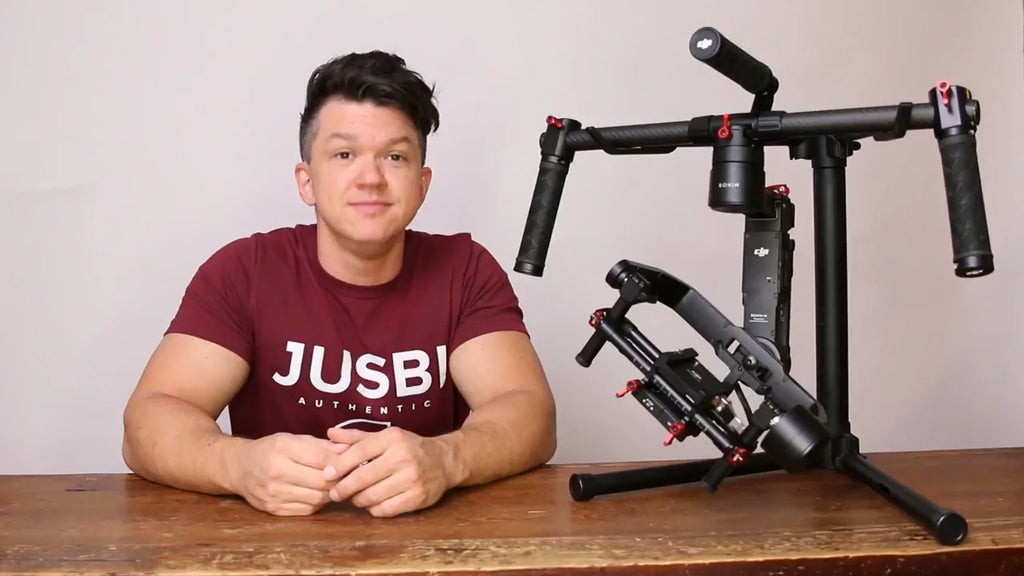
Now I've owned this, the DJI Ronin M, for about 8 or 9 months now. It's a 3 axis gimbal for DSLR's and other types of cameras. I've traveled with it for about 6 or 7 trips now I think.
And even though you can break it down really easily, it's still a lot to carry around with it having so many different precision parts. And being a pretty expensive piece of gear, you don't just wanna throw this into a backpack.
So I knew right away after I bought the Ronin M that I didn't wanna use the original box to store it in. I didn't wanna use the original box to travel with so I immediately went online and decided to spend the extra money to buy a really nice travel case.
There are a million different options out there, well maybe not quite a million but there are several different options all the way from super super high-end that's going to cost you hundreds of dollars all the way to super cheap soft cases that have horrible reviews on Amazon and eBay.
So after spending a couple of days online, I stumbled upon a company called Nanuk. They make hard cases, that's pretty much what they specialized in.
I'll have all the links in the description box below where you can check out all their stuff, but coincidentally, the same week I was looking for a hard case, they introduced what they call the 950 Ronin M. What the 950 Ronin M is, its a hard, waterproof travel case.
Now, its waterproof but I don't think you should go diving o swimming with it, that might kind of void the whole waterproof thing.
But anyway, it's waterproof for my usage and it's an amazing case. I decided to order it and decided to spend the extra money to make sure that the Ronin M is going to be protected when I travel. It's going to be a good storage solution and you could throw the thing off of a third story building and not have to worry about the Ronin being damaged.
Quick disclaimer guys, before the trolls leave comments there saying that I am getting paid to do this review, I am not getting paid to do this review. Nanuk is not compensating me at all.
It's my personal case and I've had it for 8 months. so the reason I am making this is because I absolutely love this case. I think it's the best in the maret compared to what I've seen elsewhere and I was originally going to do a review when I got it, you know 8 or 9 months ago when it's shiny and brand new pulling it out of the box.
But I decided when it comes to a hard case, you wanna know what the real world capabilities are. You wanna know how it's going to handle when your traveling. You wanna know how it's gonna last banging around and throwing it in the trunk of your car, rolling around on shoot whatever and this thing has held up extremely well.
It almost looks brand new besides some scuffs because it's plastic after all. But it's super heavy duty, the thing is built like a tank like I said, and I just want you guys to know because this is a genuine review. So I'm sure you guys are sick of me rambling by now, and just want to see the case.
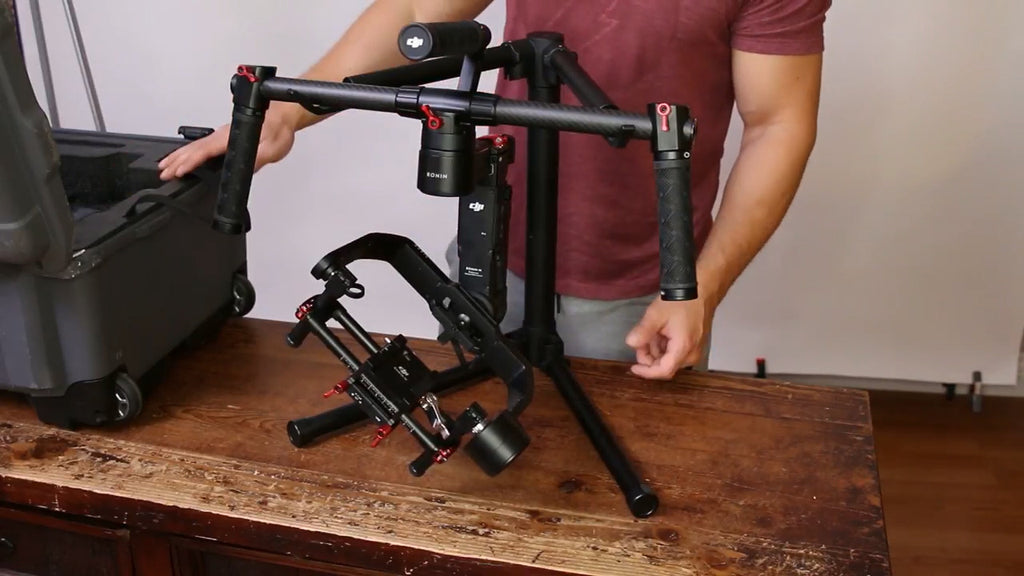
So what I'm gonna do now,is I'm gonna set a couple of cameras in here and show you piece by piece how I take apart the Ronin M and all the different compartments that the Nanuk 950 case has just to show you how easy it is to break this thing down and get in the case. So let's get to it.
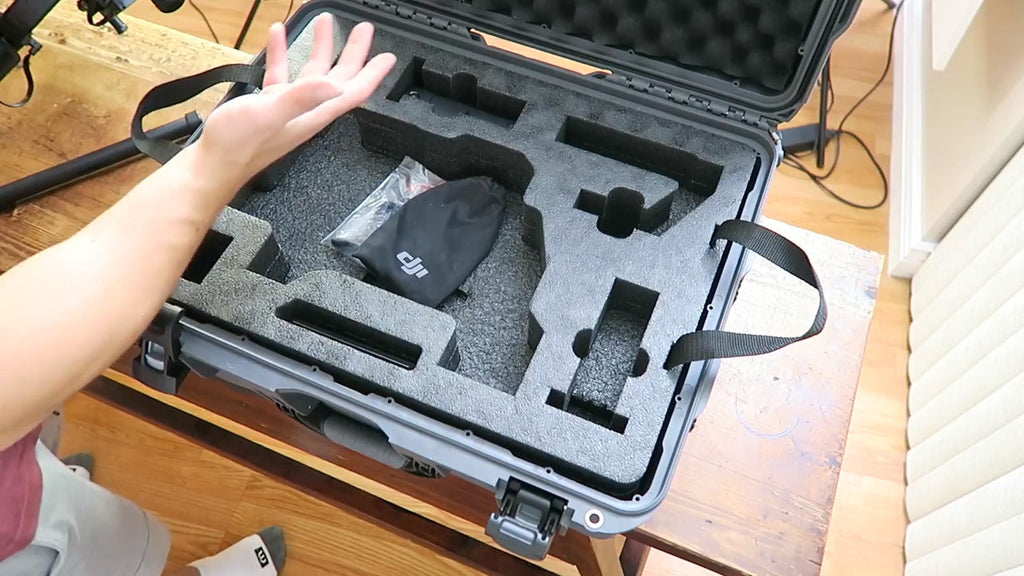
Alright, guys, so as you see, I have the Ronin M in front of me, facing camera one, and to the right of me is the Nanu 950 hard case open facing camera two. So you can see exactly what I am doing. The thing I love about the DJI Ronin M is the design. They made this thing so easy to take apart and put back together on. You don't even need to read the instructions, even though I do recommend that, to put this thing together. It's very intuitive, it shouldn't take me long.
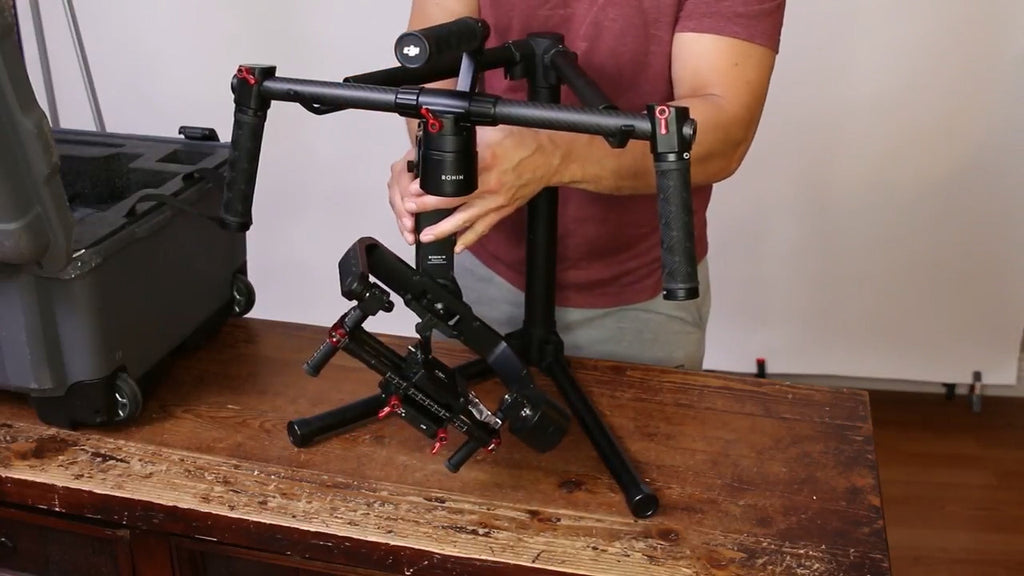
I've never taken this apart, facing the other way but it should really only slow me down by a minute not even. So to start, I'm gonna take out the battery. Now the battery is on the back of the Ronin M, just a couple of little screws loosen those up, pops up, slides out.
As you see here in the Nanuk 950 there's a slot right here for the battery. There's actually a slot for two batteries. The Ronin M comes with two batteries and if you have an extra battery, I'm sure it would actually fit cause you could see that there's quite a bit of depth on top of here, so you could just kind of stack them which I absolutely love.
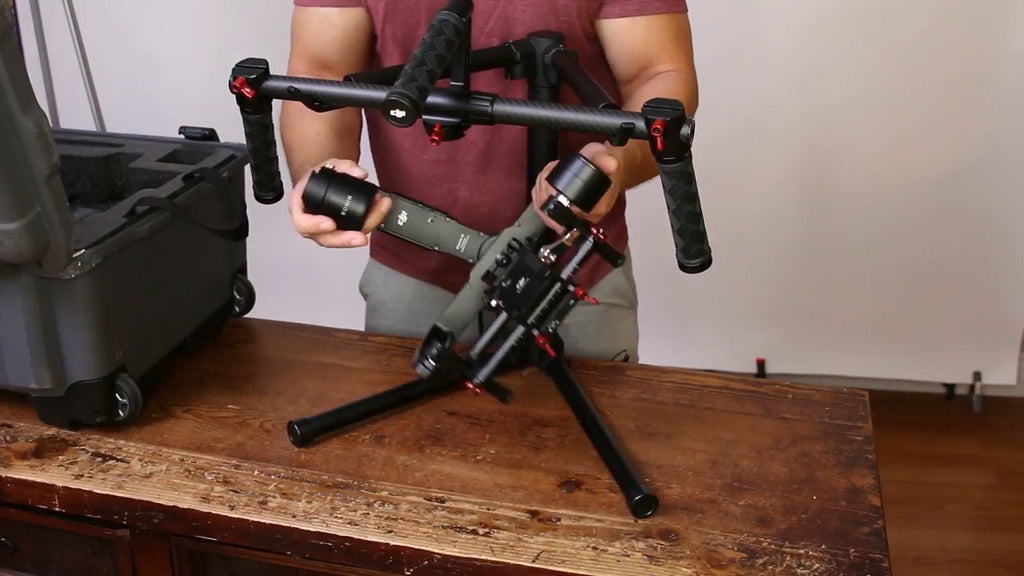
So right here is the next thing I'm gonna take apart is the three axis gimbal itself. The motor rather, as you can see, there's one, two, three axes. There's a little button on the back. It all slides out in one single unit. And here are a couple of accessories that came with the Ronin M that I always keep in the case because there are tools and like a lense support right here.
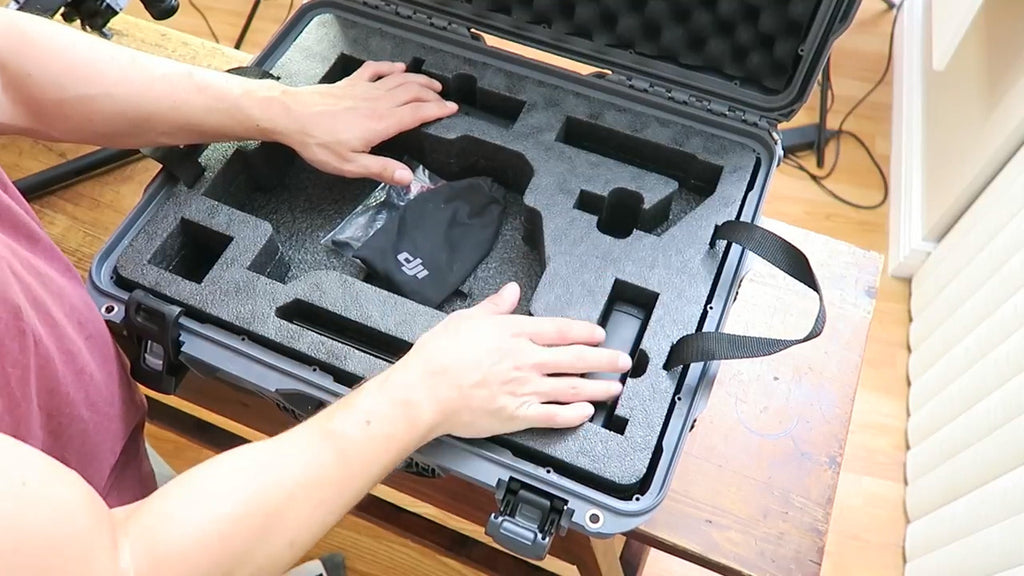
So as you see, this case is built for the Ronin M exactly. You just slide it down here, not wiggling around. You have these accessories here, you just plot these then they don't go anywhere. And then when you pop the Ronin M out, its already set up and calibrated for the camera you were last using. You don't have to recalibrate it as much. It's just a minor tweak.
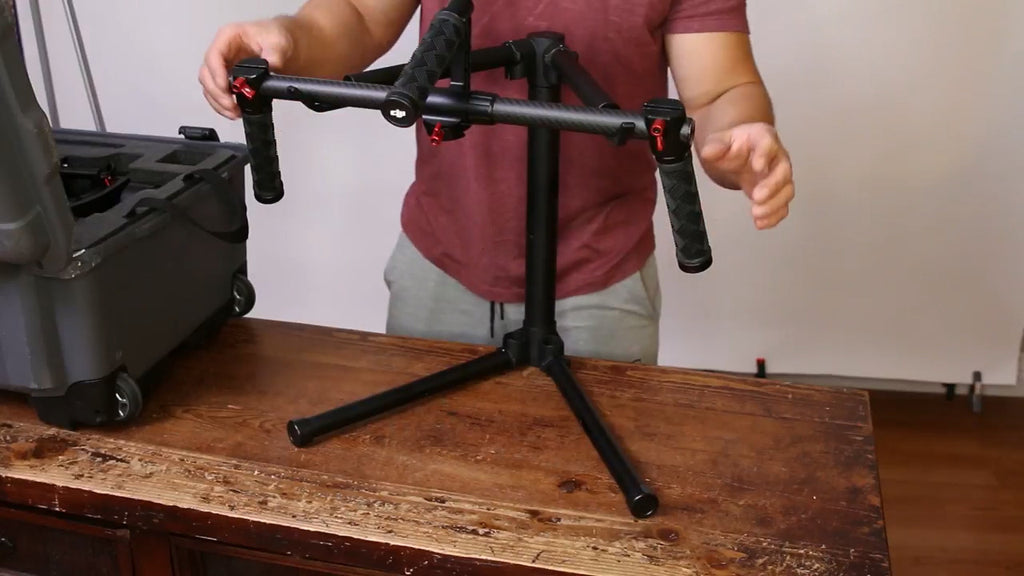
So next, I'm gonna take off the side handles which are very easy. Now the side handles go in the lower part of this case which I'll you in a second. So I'm just going to set these down for now. Just a couple of little screws. Trying to keep it in frame guys, that's why I'm doing it like this. Now, this side handles also come off, there are two small screws for adds I should say on both side, they pop up, I'm gonna set this aside.

What we're left with is this handle now. This is this briefcase handle if you are carrying with the Ronin briefcase style, you're going to hold it on here. If you switched hands usually to use. This part right here goes right there as you can see, perfect. It's essentially just match up the shapes.
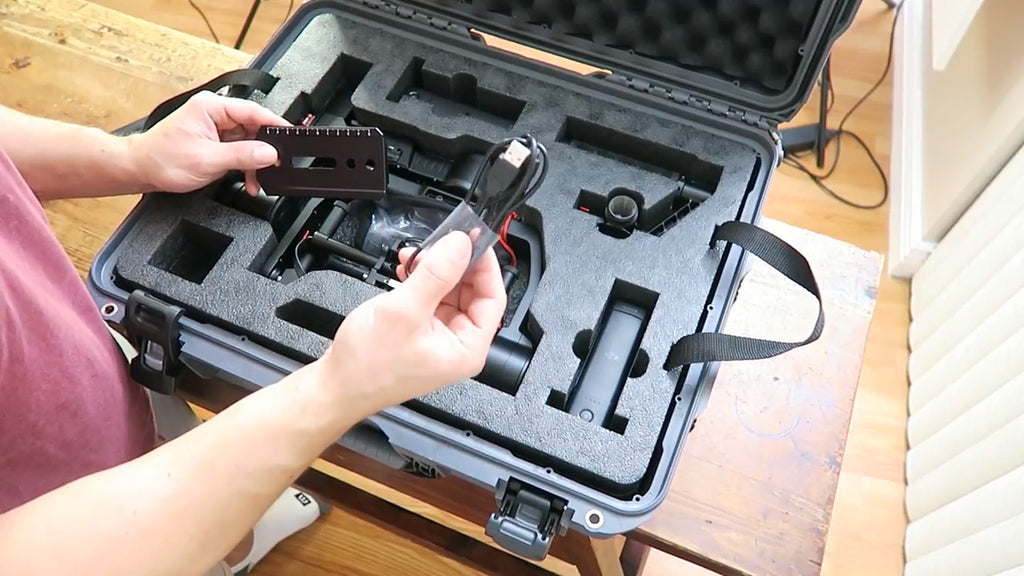
Now also in the top part here is the plate for the camera itself. I didn't have those cameras on the Ronin when I started taking it apart, but this slot fits perfectly down here. Also room for some wires for doing firmware updates and what have you. And then over here is actually where I put my monitor. So I have an external monitor for this which I didn't show you because I didn't wanna show you accessories that didn't come with the Ronin M but it fits perfectly in here so it's really nice.
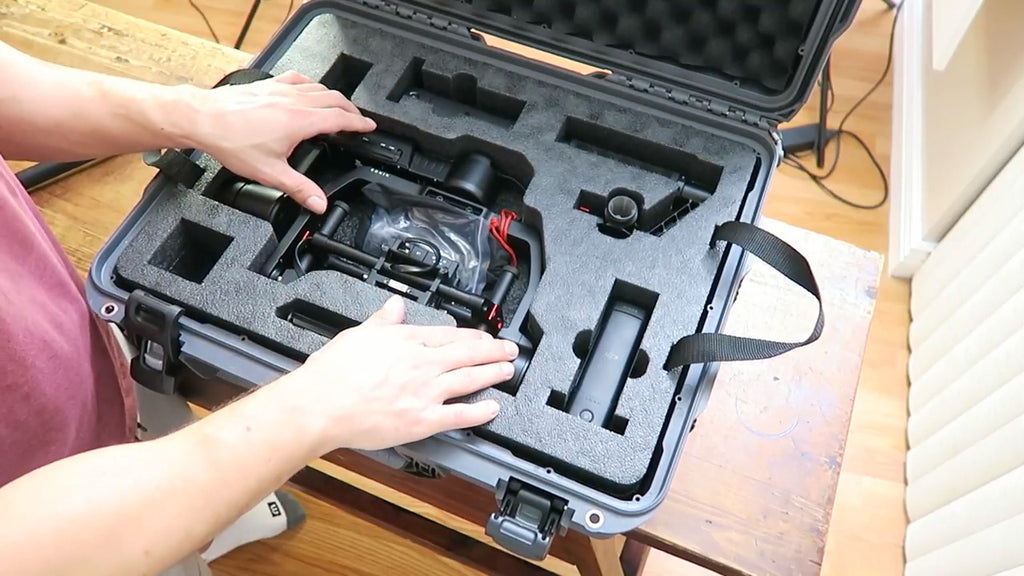
So as you can see, its the three motors or the three brushless motors here with the gimbal, the main gimbal assembly, the two batteries, the briefcase handle, and accessory and the camera plate on the top. And if you see two handles here, heavy duty, you just lift up and out.
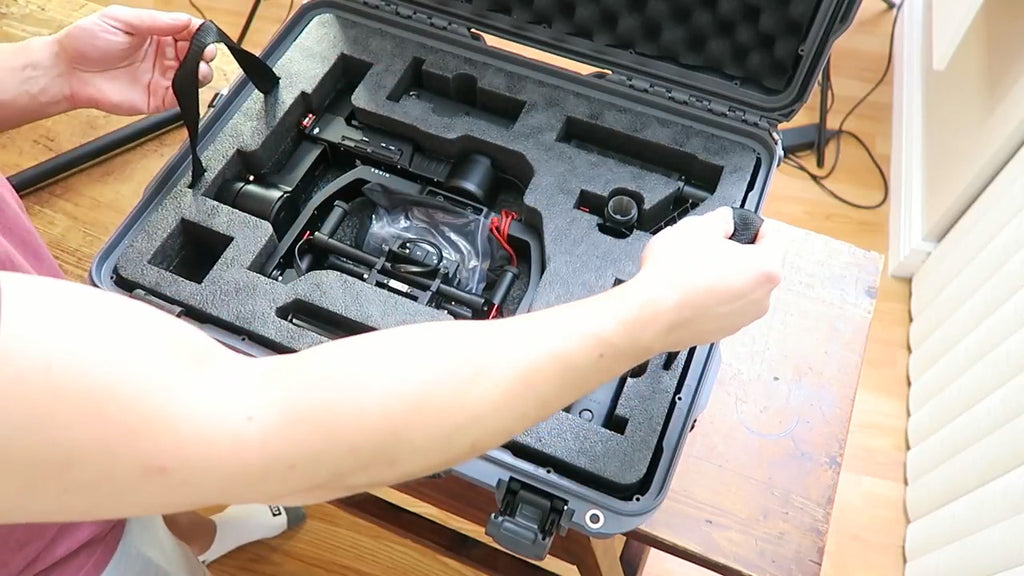
So I am going to set this aside and show you down here. So right here is the bottom obviously. The Ronin M comes with a remote control as you see. Nice, still in the bag, I have never actually used it but this will actually sync with the gimbal itself. So you can pan and you can tell us and everything and either have someone secondary helping you or you can have the Ronin on the stand or on a tripod with a stand and control it that way. Really really nice to have, you can put it in here.
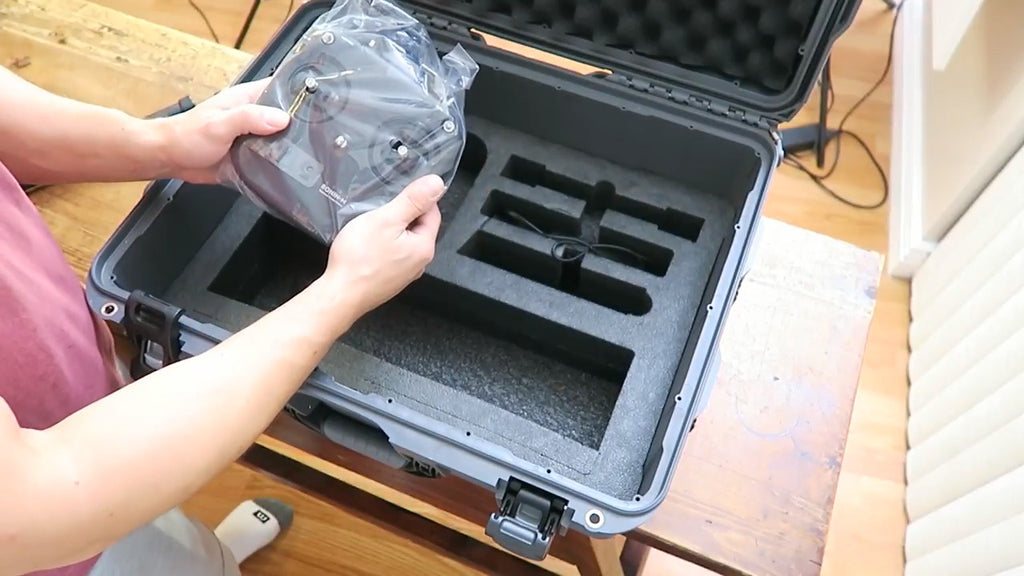
Now, what I will tell you is that, if you don't use this, you'll have a whole lot of room here for accessories for charges or whatever you might have. It can even fit probably a six-inch safely, external monitor, cables or whatever like I said. But I keep this in there. You never know when you might need it. It slides very snugly without being too tight now.
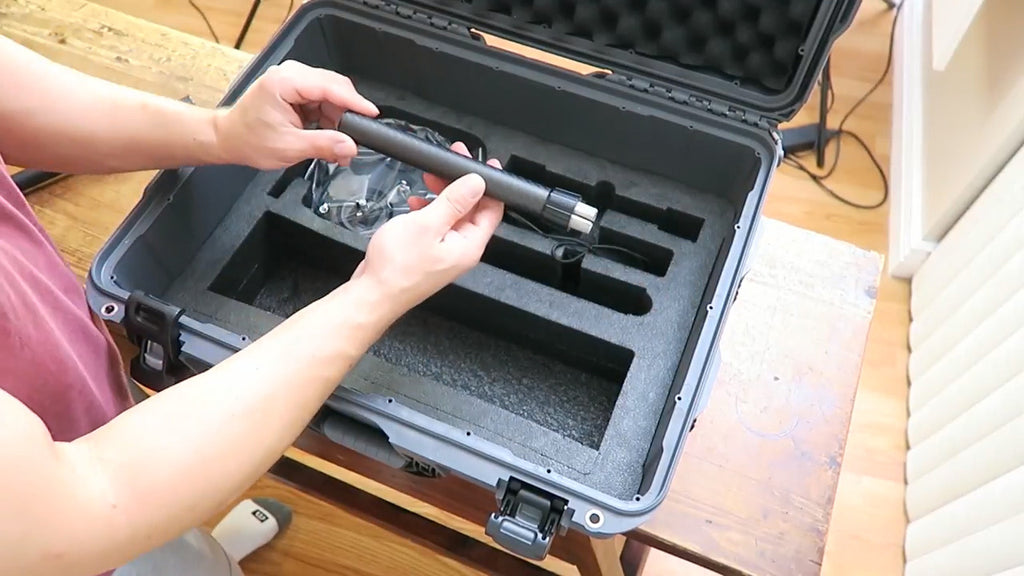
So down here, one on top of each other and over mating pattern, whatever you wanna call it, not trying to be fancy with it. This is the actual battery charger, I slide right down here, has plenty of space as you see. Now for the last part, were almost done, guys.
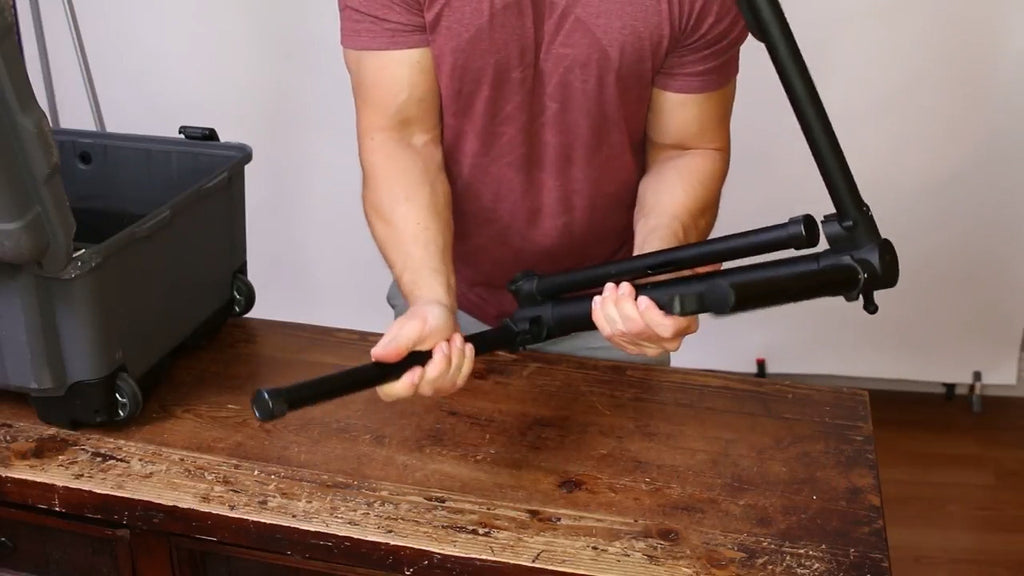
For the last part, I'm just going to take apart the stand. The stand does come with the Ronin M luckily. Start with the bottom, it doesn't really matter, doesn't really make a big difference. All this is,you pull this out, I don't know if you can see it. Easier than it looks,
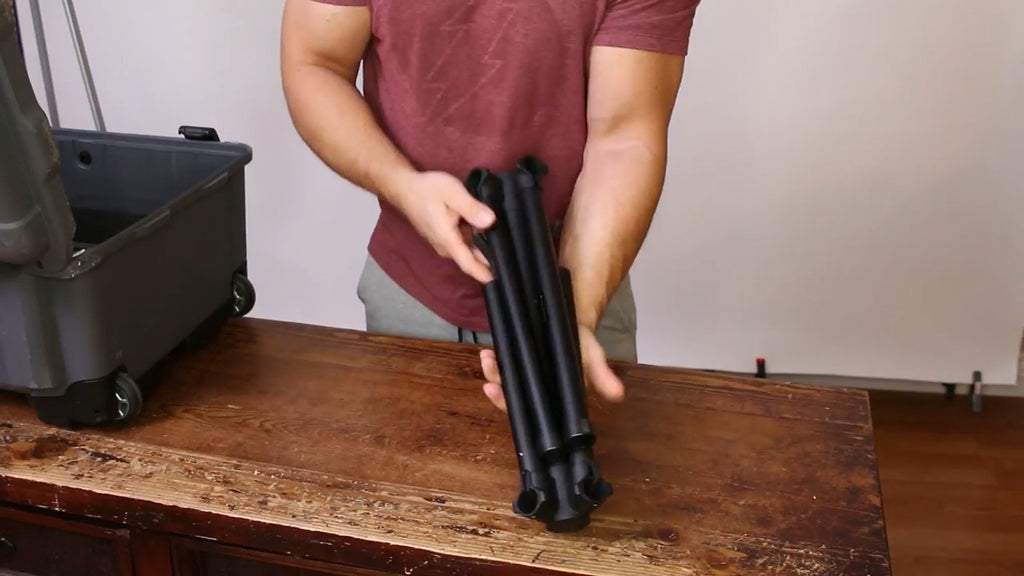
I'm trying to do this for the camera and it's like a bungee, so you pull it out and there's like a bungee here to make sure that you keep staying tall. The same at the top. The great thing about this is if you have a light stand or a microphone stand or what have you, just flush them like that, see real compact. If you have a light stand you can actually take this top par off, you would like to hang the Ronin at different heights or what it will not actually use the entire stand.
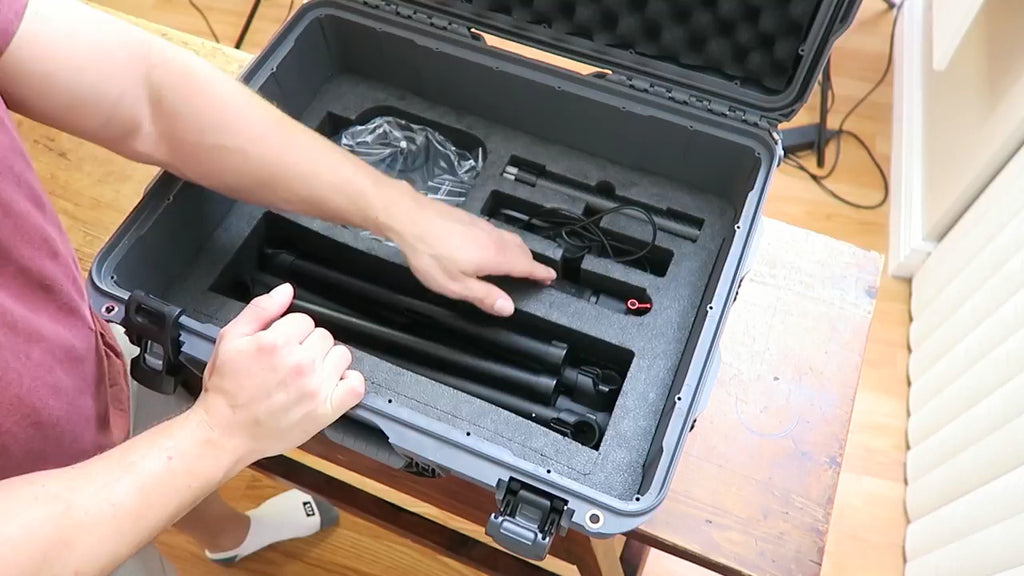
So over here, this stand easily fits right. So you have the stand, the handles, the connection rods, the charger, the remote control. Then you put the top shelf back in. And like I said, you have some more room here for more accessories if you want to tuck some stuff down here, some tools whatever.
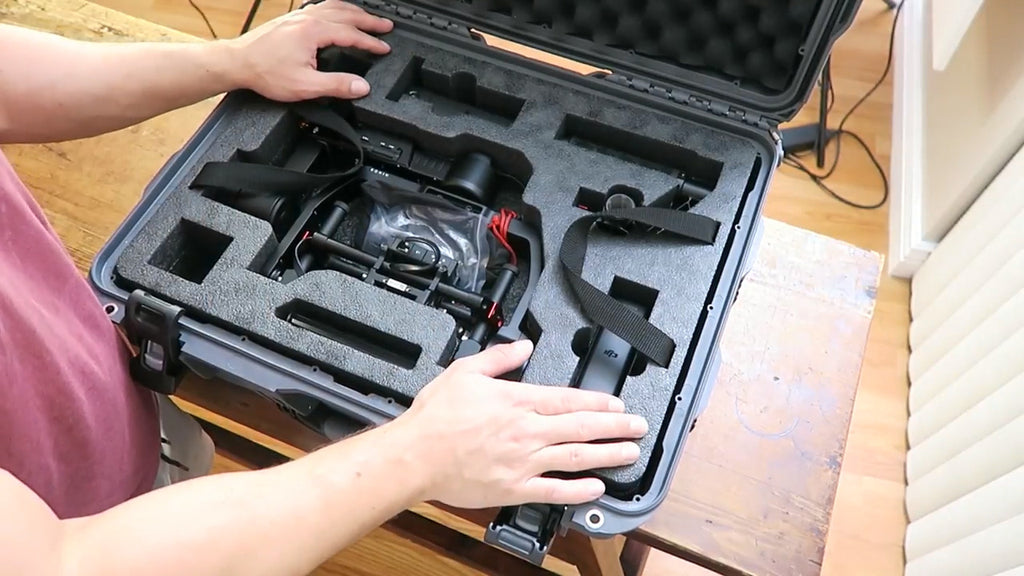
There's heavy-duty eggshell here. I don't know if you can see it over here, there's heavy-duty eggshell. This is super heavy-duty foam. This is not going to fall apart. So when you close this up, these buckles here are super heavy-duty guys. So you push it down, spring loaded that latches up.

So there you have it guys, every single piece has a designated place in this case and its ready for me to take it wherever I need to go. I highly recommend it. Again it's called Nanuk 950 Ronin M. And Nanuk also makes super high-quality cases or drones other camera gear. I think they even sell empty cases with raw foams so you can cut it to any shape you need to harbor, store your gear, travel with that what have you.
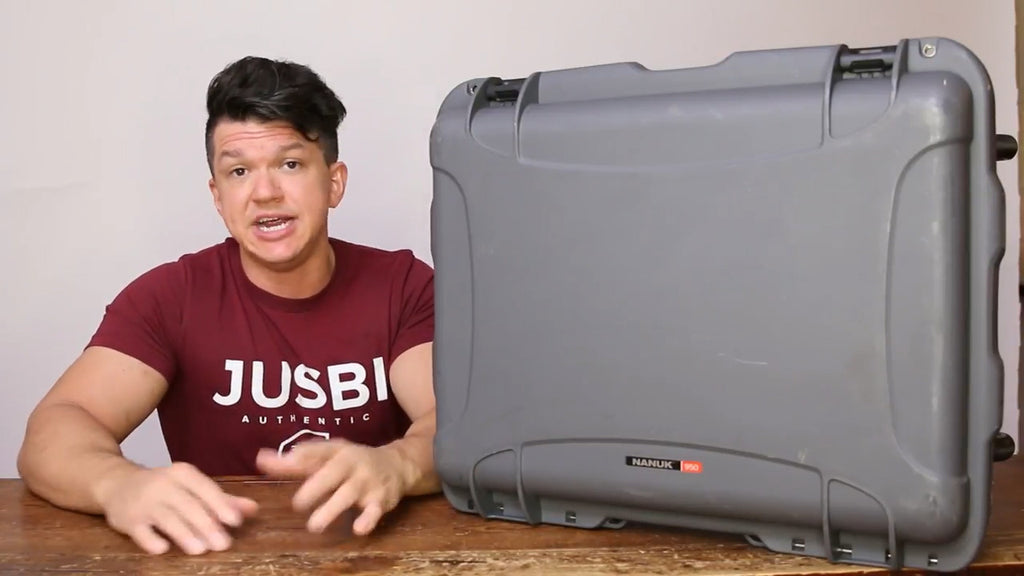
As always guys, all the links will be in the description box below where you can find out more information. You can find out all the specifications of this case that it didn't cover in this video. This was just a review to show you exactly what it was, give you my feedback on it and show you that I've had for eight or nine months and this is thing is a tank. This thing is absolutely indestructible not literally, got to put that out there.
But this thing, I could literally throw this off of a five-story building and I would be confident that the Ronin wouldn't be screwed up. The case will probably be screwed up at that point but the Ronin will be protected and I'm confident in that.
I've actually hunted down a better price than I paid for it which is kind of annoying but anyway its a win for you guys and I'll have that in the link in the description box below.
And you haven't yet, make sure to like, comment and subscribe. I appreciate each and every one of my subscribers and that means the world to me and I wanna connect with you.
So come, find me on Instagram, snap chat, twitter, what-have-you @AdamIvy and until next time. You can find me at AdamIvy.com
This video is provided by Adamlvy who had been using the Nanuk 950 DJI Ronin-M Hard Case for the last 8 months. Watch this video on YouTube.
